Affordable Design

Affordable Design

Saturday, January 31, 2015

Dresser-to-TV Stand Extravaganza

We have been in need of a new dresser for quite some time. We've been using a cheap, plywood-covered-in-veneer dresser from my bachelorette days that is falling apart. I've been cruising Craigslist for the last couple months looking for something low-priced that had potential. I (finally) stumbled across this:


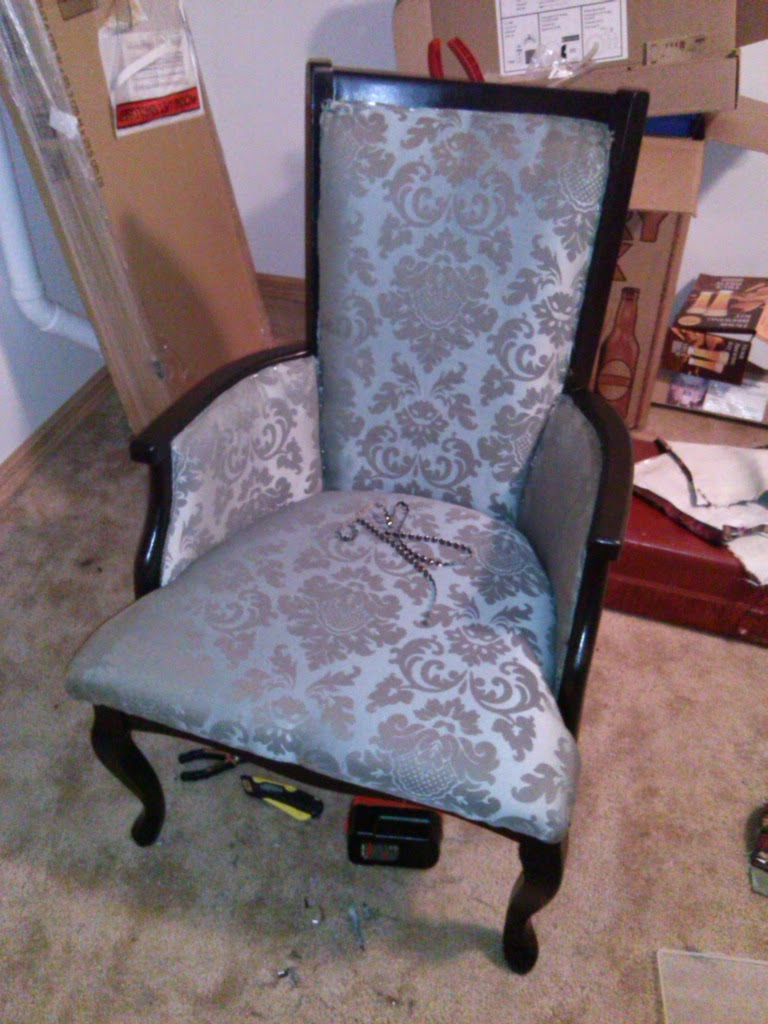
Cute, cheap, solid wood & already sanded down to be refinished. I couldn't resist. I texted the guy and was able to pick it up within the hour. Of course, I brought Al with me. Safety first!

We were currently using our dresser as a TV stand, so we decided it would be beneficial to take out the top drawer and create a shelf so that we could have a spot to neatly place our Blu-Ray player and satellite receiver.


It was as simple as this: I pulled out the top drawer, measured the length and the width inside, then went down to Lowe's and had them cut me a piece of wood to those measurements. It slid right in and fit like a glove. I sanded down the front edge, painted it & glued it down with wood glue. That was it. Shelf!


Since it was already sanded down, I was able to paint right away. I used American Décor Chalky Finish Paint from Hobby Lobby and a foam brush. It looks like this:


The color I used was called "Serene". Chalk paint is great-it sticks to anything even if it isn't sanded. This is also what you would want to use if you are doing any kind of distressing for the "shabby chic" look. I started to distress this dresser (rubbing with a sandpaper block!), but stopped and repainted because I decided I preferred the more solid look. I was able to do the whole thing with one jar with a bunch to spare.

My plan was to try placing lace over the drawers and spray painting over it for a lacey effect, something like this that I saw on another blog:


Epic. Fail. My paint was blotchy and didn't even mildly resemble lace. I didn't take pictures of this part, but trust me, it was a monstrosity. If anyone has tips on how to do this and make it look good, please let me know! :)

If there's one thing I've learned about crafting, it's this: If something doesn't work, don't get discouraged, get creative. Think outside the box and make it work. You may end up with something better than you had ever expected.

So, after some thought, I resolved to re-paint the drawers and glue the lace directly to them using a spray adhesive. I was a little hesitant of what it would look like, but I went for it and I like how it turned out!


We ended up drilling a hole into the back using a drill attachment called a spade bit that looks like this:


Super easy and made a hole in five seconds flat. Now all of our cords can neatly feed through the hole.


Note to self: Clothes go in dresser, not on the floor....


Thrift Store Chair Redo

I felt a little in over my head on this one. I have revamped many different pieces of furniture, but never in my life had I reupholstered a chair. However, I saw these at the Salvation Army (for $15 apiece, no less!) and they seemed to have good bones. After inspecting them a little, it looked like something I could maybe redo. I've been looking for office chairs for months and haven't found anything that I like, so I decided to go for it. I figure if I messed it up, they're only $15 chairs, right?

Before
 
The plan:
 
 
This lovely Damask fabric is from the Hobby Lobby upholstery fabric section.

 
I had to start by pulling off all the fabric/staples. This was a chore. My fingers hurt! I kept every piece of fabric and marked where it went to use as a pattern to cut my new fabric, and I reused the foam.
 
 
Spray paint. I bought my first-ever electric sander for this project. Best $30 I've ever spent!
 
 
Also invested in an electric stapler. It was vital. Here is my awesome hubby Al helping me out! We stapled fabric pretty-side out to the inside of the chair, stapled foam on top of that, then fabric pretty-side in on top. Repeated on the arms.
 
 
Easiest part-covering the chair pads. Slapped some fabric around them and stapled it on. We tried to center the pattern as best we could, both on the backs of the chairs as well as on the pads.
 
 
Chair #1 finished before trim. Note the "Brewery in a Box" in the background, from our last project :)


We decided to go with a trim that looks like nail heads and use hot glue to adhere it. It was much easier and more cost-effective than real nail heads, although the finished product probably doesn't look as sharp. I'm still very pleased with the way it turned out!
 
 
Aaand...done!


Added a shimmery taupe fabric to the back for some interest.


They are far from perfect and we learned a lot, but I'd say it's not too shabby for $15 chairs and a couple of novices!