Before
The plan:
This lovely Damask fabric is from the Hobby Lobby upholstery fabric section.
I had to start by pulling off all the fabric/staples. This was a chore. My fingers hurt! I kept every piece of fabric and marked where it went to use as a pattern to cut my new fabric, and I reused the foam.
Spray paint. I bought my first-ever electric sander for this project. Best $30 I've ever spent!
Also invested in an electric stapler. It was vital. Here is my awesome hubby Al helping me out! We stapled fabric pretty-side out to the inside of the chair, stapled foam on top of that, then fabric pretty-side in on top. Repeated on the arms.
Easiest part-covering the chair pads. Slapped some fabric around them and stapled it on. We tried to center the pattern as best we could, both on the backs of the chairs as well as on the pads.
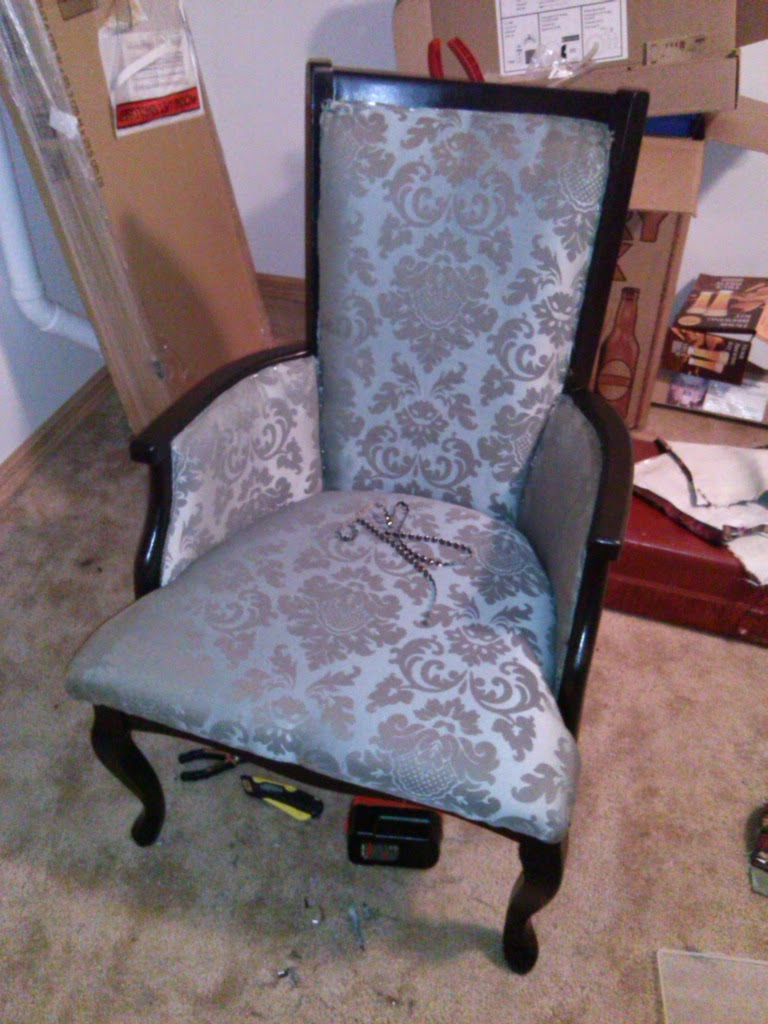
Chair #1 finished before trim. Note the "Brewery in a Box" in the background, from our last project :)
We decided to go with a trim that looks like nail heads and use hot glue to adhere it. It was much easier and more cost-effective than real nail heads, although the finished product probably doesn't look as sharp. I'm still very pleased with the way it turned out!
Aaand...done!
Added a shimmery taupe fabric to the back for some interest.
They are far from perfect and we learned a lot, but I'd say it's not too shabby for $15 chairs and a couple of novices!


No comments:
Post a Comment